DeepSeek Harness was not part of that benchmark. It shipped two days later. That means the useful question is not "which one won?" The useful question is how to run the same task through both tools, on the same model, and read the bill without fooling yourself.
Key takeaways
- Harness choice can swing token usage by roughly 7x in comparable agent tasks.
- Measure DeepSeek Harness and OpenCode with the same model and the same repo state.
- Use separate API keys before you choose one for daily work.
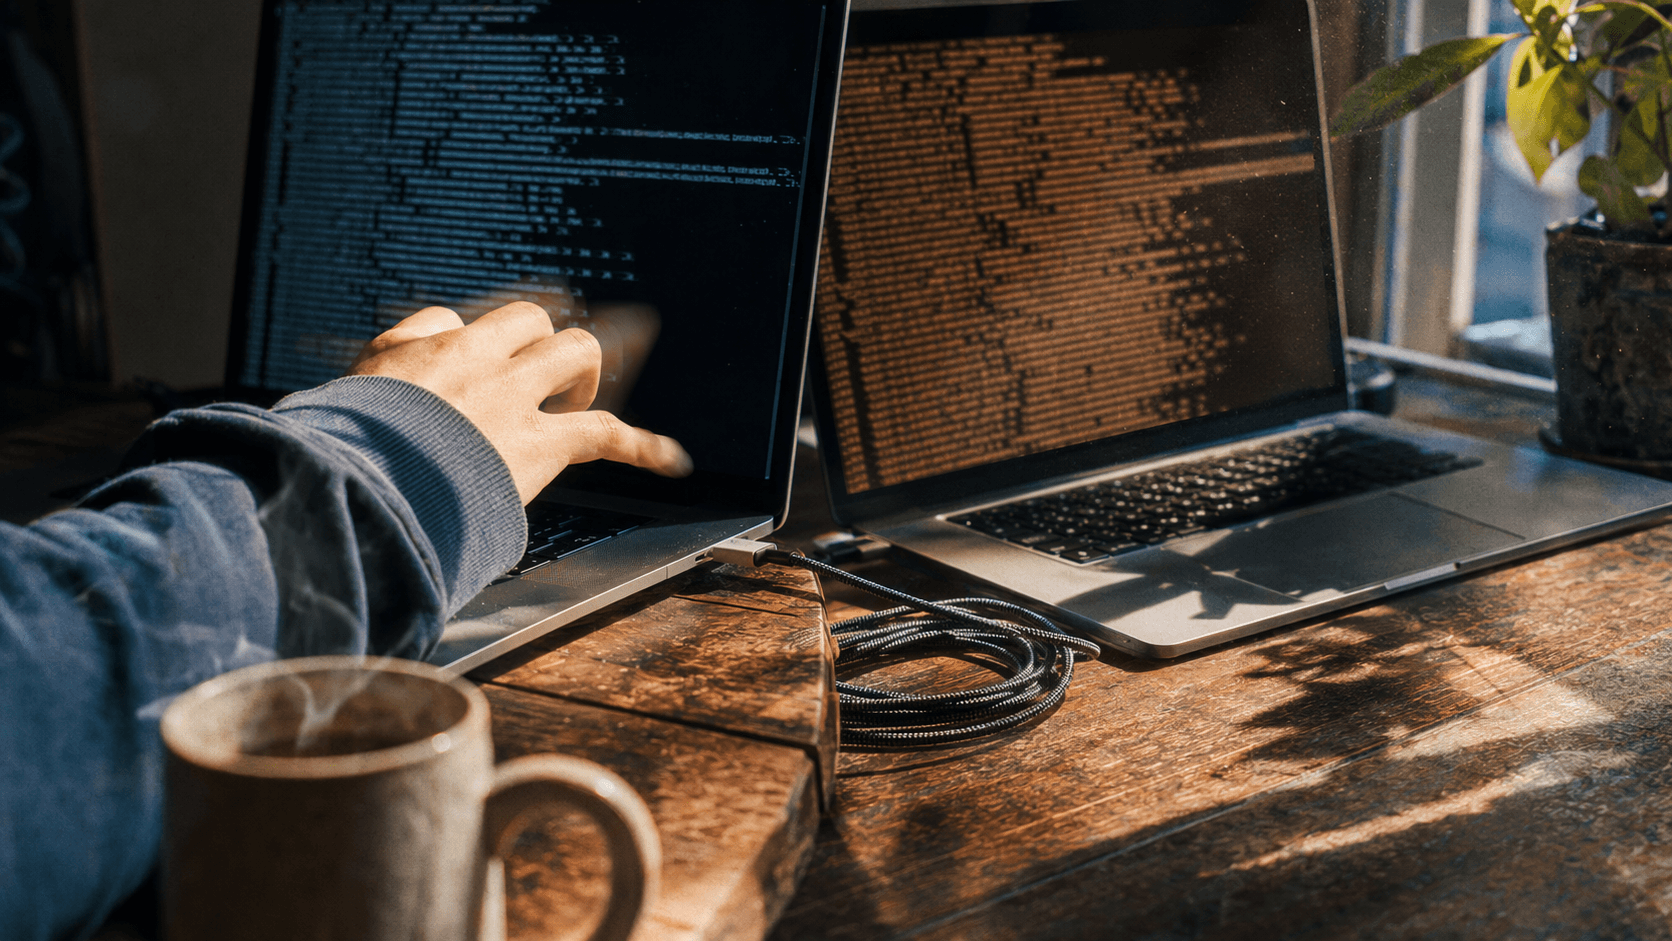
Two laptops running the same coding task through two agent harnesses
The fair setup: one model, one task, two terminals.
What the public benchmark tells us
Composio ran 30 complex multi-app workflows through 8 agent harnesses, all using DeepSeek V4 Flash, a 900 second cap per task and binary programmatic grading across 240 runs (Composio, August 2026). Same model, different harness.
| Harness | Pass rate | Median time | Avg tokens per task |
|---|---|---|---|
| Pi Agent | 66.7% | 132.2s | 559,000 |
| Prime Agent | 62.5% | 242.1s | 1,400,000 |
| OMP | 56.7% | 272.4s | 742,000 |
| Claude Code | 53.3% | 122.7s | 742,000 |
| Codex | 53.3% | 245.0s | 678,000 |
| DeepAgents | 53.3% | 187.1s | 665,000 |
| Hermes Agent | 50.0% | 175.5s | 192,000 |
| OpenCode | 46.7% | 129.7s | 692,000 |
The token column matters more than the ranking. The spread runs from 192,000 to 1,400,000 average tokens per task. That is the same model doing comparable work through different runtimes.
OpenCode gives us a sourced baseline: 692,000 tokens per task, 46.7% pass rate and 129.7 seconds median time. DeepSeek Harness does not have a public head to head number from this benchmark because DeepSeek released it on August 13, 2026, two days after the benchmark published.
Use the table as a warning, not a verdict. It shows that the harness can dominate cost. It does not prove whether DeepSeek Harness beats OpenCode on your repo.
What changes when you switch harnesses
Before testing, compare the two tools by the parts that affect a working developer: setup surface, maturity, token visibility and how much of the agent loop you can replace.
| DeepSeek Harness (dsh) | OpenCode | |
|---|---|---|
| From | DeepSeek AI | Anomaly (originally SST) |
| Released | August 13, 2026 | Late 2025 |
| GitHub stars | ~143k | ~198k |
| License | MIT | MIT |
| Language | TypeScript | Go |
| Interface | Web UI on 127.0.0.1:3080 | Terminal TUI |
| Status | Developer preview, breaking changes expected | Mature, widely deployed |
| Architecture | Replaceable plugins for models, tools, sessions, sandboxes, storage, loops and UI | Fixed core with build/plan agents, MCP support and LSP extensions |
| Config | $DSH_HOME/settings.yaml | opencode.json |
| Token accounting | Token meter with context pressure and breakdown projections | Per-session token and cost tracking in the TUI |
| Best for | Teams that want to modify the agent loop itself | Teams that want a coding agent that works today |
OpenCode gives you a stable coding agent with extension points around the edges. DeepSeek Harness gives you a runtime where the loop itself can be swapped. That flexibility helps if you are building agent infrastructure. It adds risk if you need a default tool for production code this week.
Both tools can hit the same OpenAI compatible endpoint. That makes a fair test possible: one model, one base URL, one task and one starting repo state.
For this walkthrough, DeepSeek V4 Flash runs through Atlas Cloud, which exposes an OpenAI compatible endpoint accepted by both tools. The deepseek-v4-flash-0731 listing shows $0.14 per million input tokens, $0.28 per million output tokens, a 1,048,576 token context window and 393,216 max output as of August 2026. Any provider works if both harnesses use the same endpoint and model id.
OpenCode also publishes aggregate usage data. DeepSeek models have moved 233 trillion tokens through OpenCode, with V4 Flash accounting for 85.5% and V4 Pro for 14.5% (OpenCode, August 2026). That usage pattern makes V4 Flash a practical default for the comparison.
Step 1: Point both tools at the same model
Create one API key and one base URL, then feed both tools the same pair. Create the key in the Atlas Cloud console and export it once:
plaintext1export ATLAS_API_KEY="your-api-key" 2
Check the endpoint before you hand it to either harness:
plaintext1curl https://api.atlascloud.ai/v1/chat/completions \ 2 -H "Authorization: Bearer $ATLAS_API_KEY" \ 3 -H "Content-Type: application/json" \ 4 -d '{ 5 "model": "deepseek-ai/deepseek-v4-flash-0731", 6 "messages": [{"role": "user", "content": "Reply with the single word: ready"}] 7 }' 8
That call proves the route, key and model id work before a harness adds tools, retries or conversation replay.
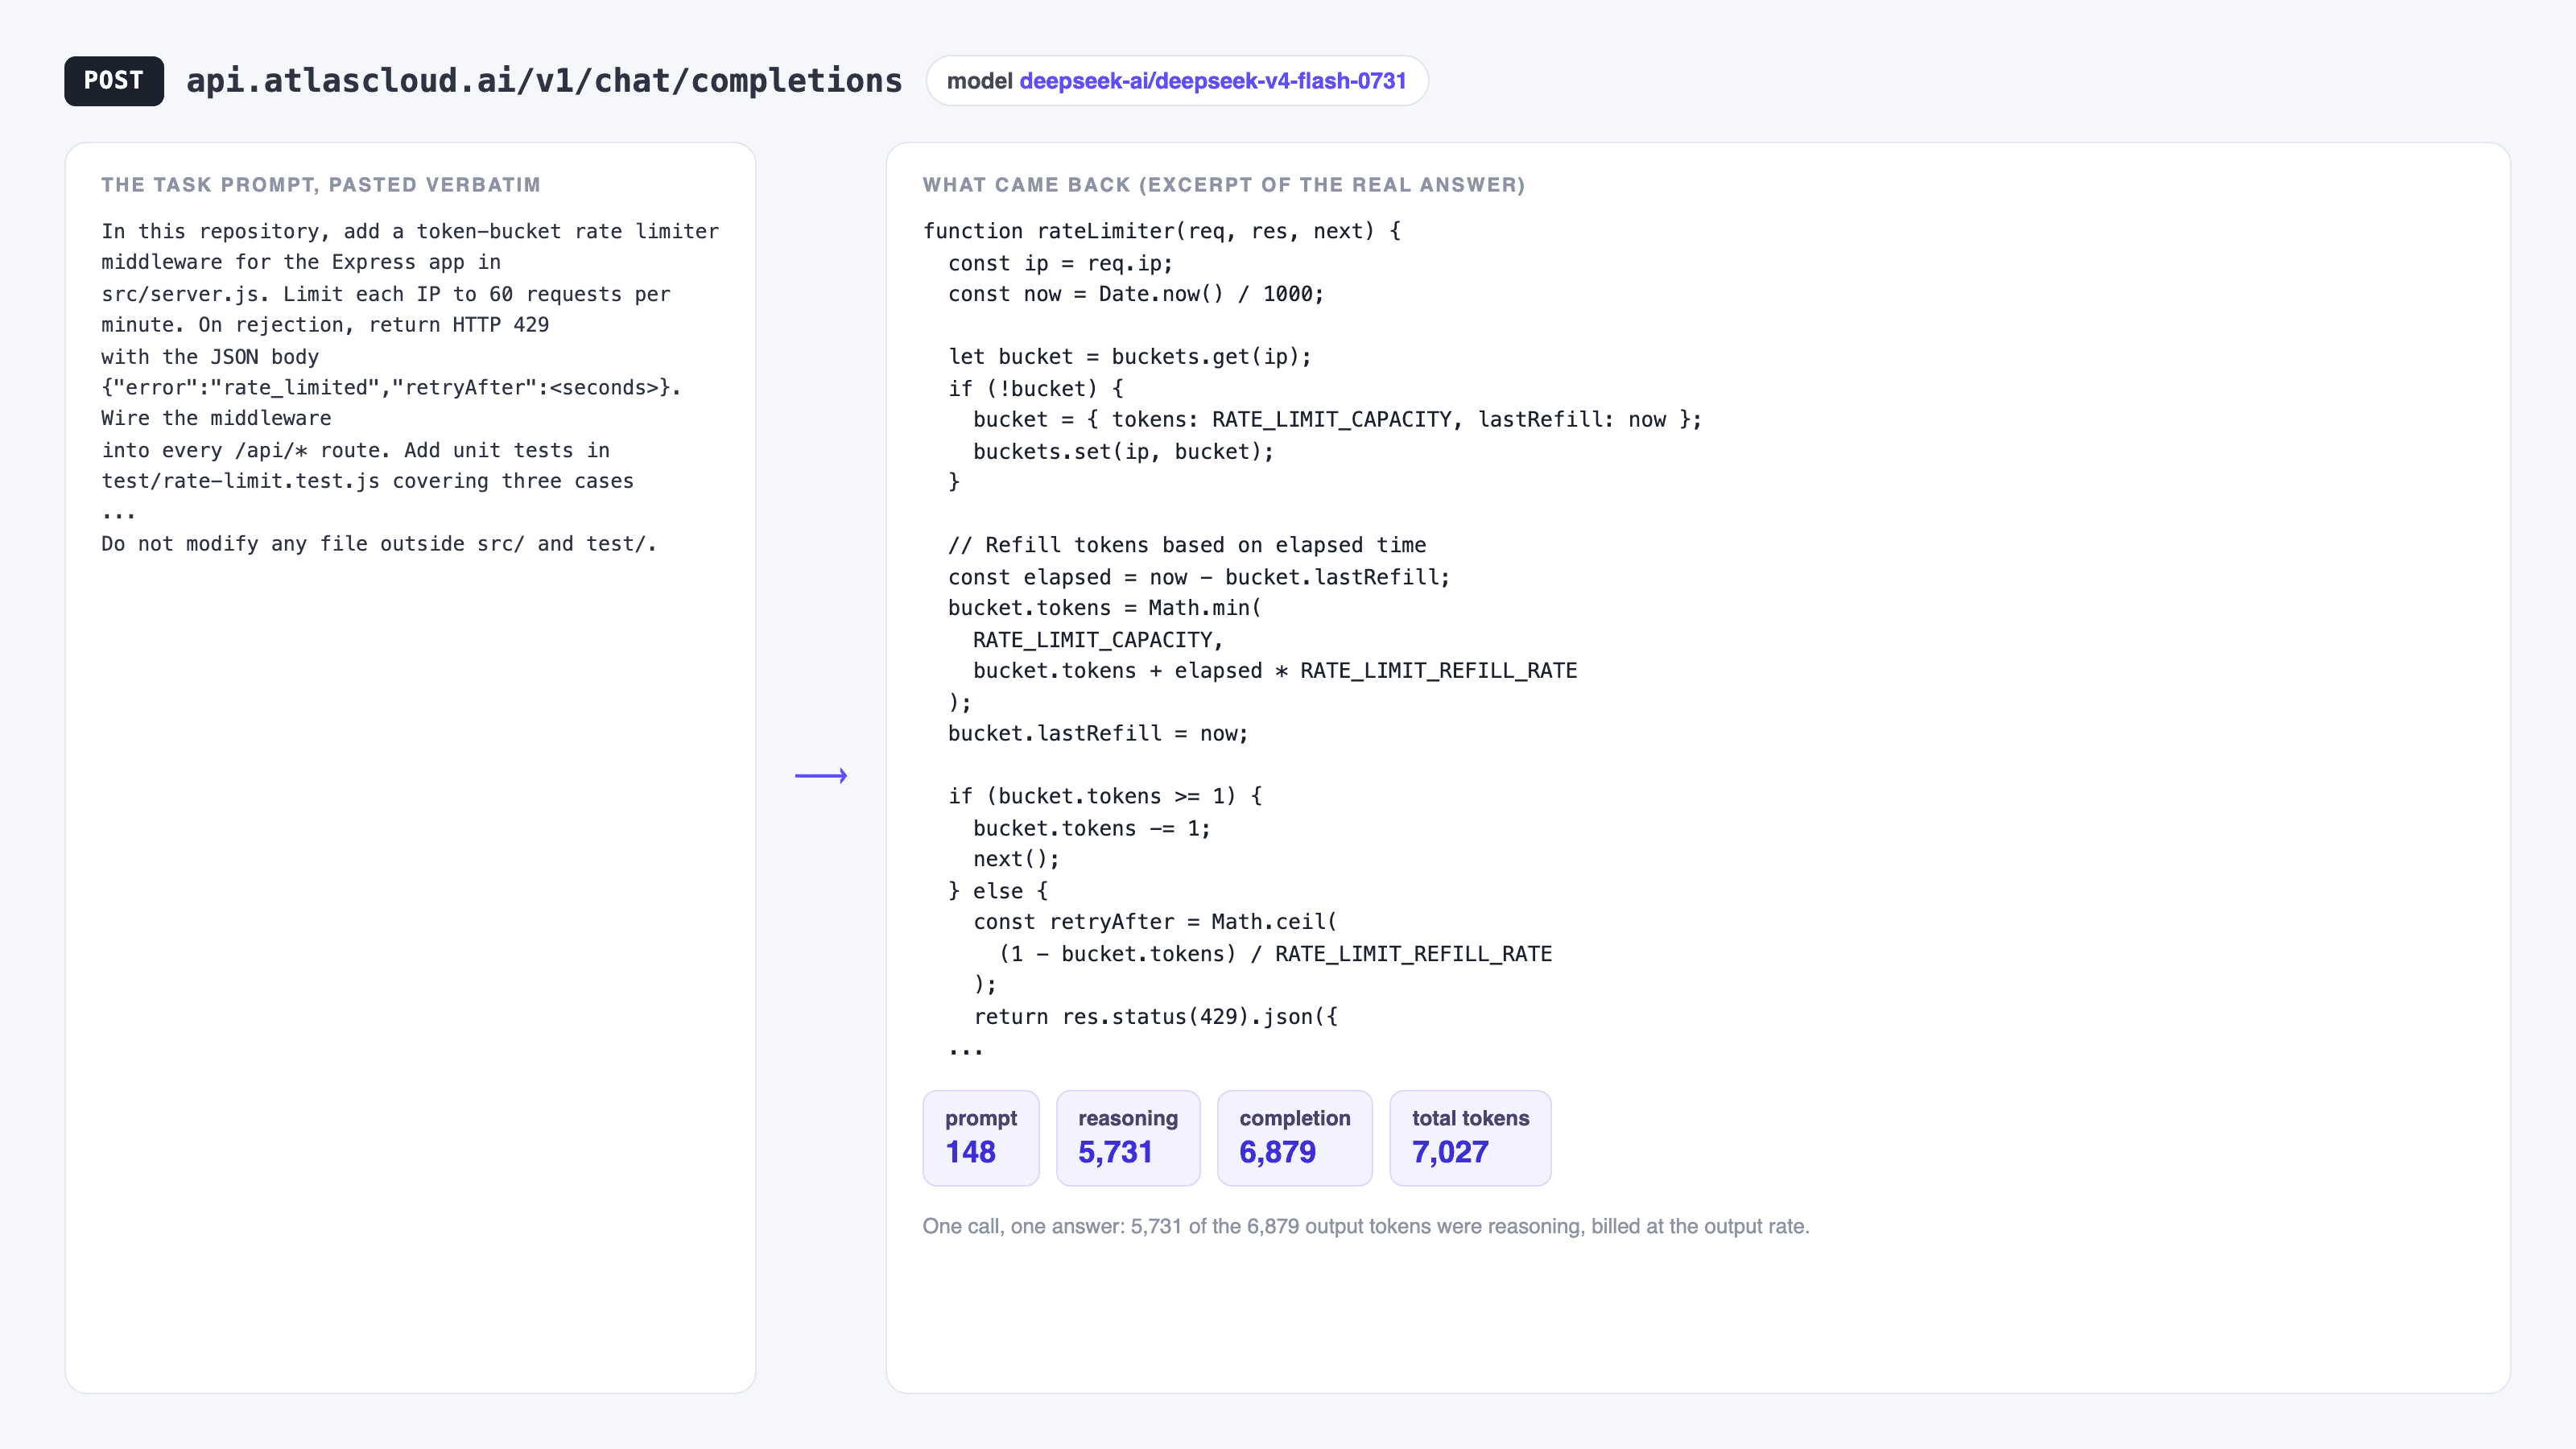
Coding prompt, generated code and token statistics from one model call
One direct call to `deepseek-ai/deepseek-v4-flash-0731`: 148 prompt tokens in, 6,879 output tokens back, including 5,731 reasoning tokens. Treat that as the floor before a harness adds tool schemas and history.
DeepSeek Harness reads $DSH_HOME/settings.yaml, and custom OpenAI compatible providers go under the llm-pi-ai plugin (DeepSeek Harness docs, August 2026):
plaintext1llm-pi-ai: 2 providers: 3 atlas: 4 apiKeyEnv: ATLAS_API_KEY 5 api: openai-completions 6 baseURL: https://api.atlascloud.ai/v1 7 models: 8 - id: deepseek-ai/deepseek-v4-flash-0731 9
Use openai-completions for this endpoint. The web UI can write the same provider block from Settings, Models, Add custom provider, then store the key in $DSH_HOME/.credentials.yaml.
OpenCode reads opencode.json in your project root or global config directory (OpenCode docs, August 2026):
plaintext1{ 2 "$schema": "https://opencode.ai/config.json", 3 "provider": { 4 "atlas": { 5 "npm": "@ai-sdk/openai-compatible", 6 "name": "Atlas Cloud", 7 "options": { 8 "baseURL": "https://api.atlascloud.ai/v1", 9 "apiKey": "{env:ATLAS_API_KEY}" 10 }, 11 "models": { 12 "deepseek-ai/deepseek-v4-flash-0731": { 13 "name": "DeepSeek V4 Flash 0731", 14 "limit": { "context": 1048576, "output": 393216 } 15 } 16 } 17 } 18 }, 19 "model": "atlas/deepseek-ai/deepseek-v4-flash-0731" 20} 21
Use @ai-sdk/openai-compatible, because this endpoint serves /v1/chat/completions. Set the real context and output limits. OpenCode uses them when it decides when to summarize, and wrong limits can distort the token comparison.
Step 2: Run the same benchmark task in DeepSeek Harness
Pick a task large enough to need several tool calls and small enough to grade. Use the same repo state for both runs, so commit or stash before you start.
Paste this exact task into both tools:
plaintext1In this repository, add a token-bucket rate limiter middleware for the Express 2app in src/server.js. Limit each IP to 60 requests per minute. On rejection, 3return HTTP 429 with the JSON body {"error":"rate_limited","retryAfter":<seconds>}. 4Wire the middleware into every /api/* route. Add unit tests in 5test/rate-limit.test.js covering three cases: a request under the limit is 6allowed, a request over the limit is blocked with 429, and the counter resets 7after the window expires. Run the test suite and fix failures until it passes. 8Do not modify any file outside src/ and test/. 9
Start Harness from your project directory:
plaintext1cd /path/to/your/repo 2npx @deepseek-ai/dsh web 3
The UI runs at http://127.0.0.1:3080. Select the atlas provider and the deepseek-ai/deepseek-v4-flash-0731 model, paste the task, and let it finish. Do not add hints after the run starts. Extra help for one tool invalidates the comparison.
When Harness finishes, open Trajectory view. That session record is where its token numbers live.
Step 3: Repeat the run in OpenCode
Reset the repo to the exact starting state. The second harness must not inherit files the first one already changed.
plaintext1git checkout -- . && git clean -fd 2
Then run OpenCode against the same model:
plaintext1opencode --model atlas/deepseek-ai/deepseek-v4-flash-0731 2
Paste the same task prompt from Step 2. Use the default build agent. Let it finish without hints.
Grade both runs with the same command:
plaintext1npm test 2
A run that leaves the suite red fails, even if the agent summary sounds confident. Use binary grading: pass or fail.
Step 4: Read token usage
Both tools track usage, but neither counter should be your final invoice number.
DeepSeek Harness ships a token meter mounted by default. It exposes tokenUsage, contextPressure and contextBreakdown in Trajectory view. contextBreakdown tells you whether the bill came from system prompt, tool schemas, file reads or conversation replay. The meter estimates roughly one token per four characters, so use it as a diagnostic view.
OpenCode tracks tokens and cost per session and prints them in the TUI status line. Its built-in breakdown is smaller, so teams that need per-tool attribution often inspect the session database with external analyzers.
Use provider-side numbers for the comparison:
| What to compare | Where to get it |
|---|---|
| Total input tokens | Provider usage dashboard, per API key |
| Total output tokens | Provider usage dashboard, per API key |
| Number of model calls | Harness trajectory view / OpenCode session log |
| Wall clock time | Stopwatch, start to last file write |
| Pass or fail | npm test exit code |
Create two API keys, harness-test and opencode-test, and use each key for one run. The provider dashboard then gives you clean side by side usage without reconciling two internal estimators.
Why the bill moves
Token usage changes for concrete reasons. These five usually matter more than the model price.
Conversation replay adds up. Agents resend the growing conversation on each step. A 40 step task costs closer to the sum of 40 growing prompts than 40 identical prompts. Harnesses that summarize early land closer to the low end of the benchmark spread.
Cache hits cut input cost. DeepSeek V4 Flash cache hits are priced around $0.0028 per million tokens against $0.14 per million on a miss, roughly 98% cheaper. Caching needs a byte-for-byte stable prefix. If a harness shuffles system prompt text between calls, it turns hits into misses.
Tool schemas ride along. Twenty connected MCP servers mean twenty schema sets in the prompt, even if the task uses two of them. Disconnect tools you do not need before you benchmark, or you measure your tool setup instead of the harness.
Large tool outputs poison context. A cat of a 3,000 line file or a verbose failing test log stays in the conversation for later calls. DeepSeek Harness can prune oversized tool results before summarizing. Turn that on when the task produces noisy output.
Retries hide inside call count. A harness that retries a failing test loop spends tokens each time. Compare model calls beside total tokens so you can separate a retry loop from an expensive prompt.
At the Atlas Cloud rate for DeepSeek V4 Flash, a 692,000 token task weighted toward input lands in the low single digit cents. That is small for one run and large across a team running agents all day. Browse the full model catalog if you want to repeat the test on a second model and separate model effects from harness effects.
DeepSeek Harness is still a developer preview, and its README warns about breaking changes. Benchmark it if you want control over the agent loop. Standardize on it only if your team can absorb churn. OpenCode is the steadier choice for teams that need a tool today.
Frequently Asked Questions
Is DeepSeek Harness better than OpenCode?
Not for most teams yet. OpenCode is mature, terminal native, has roughly 198k stars and a large provider catalog, and it works today. DeepSeek Harness is newer, in developer preview, and warns about breaking changes. Choose Harness if you want to modify agent internals. Choose OpenCode if you want a coding agent for daily work.
Does DeepSeek Harness only work with DeepSeek models?
No. It is model agnostic. It ships catalog providers for DeepSeek, Anthropic, OpenAI, Bedrock, Vertex, Azure and Codex, and you can add any custom provider that speaks openai-completions, openai-responses or anthropic-messages in $DSH_HOME/settings.yaml. The Step 1 config points it at an OpenAI compatible endpoint with no adapter code.
How do I check DeepSeek Harness token usage?
Use the built-in token meter in Trajectory view. It exposes tokenUsage, contextPressure and contextBreakdown. Treat it as an estimate because it uses roughly one token per four characters. For billing accuracy, read the provider usage dashboard, ideally with a dedicated API key for each run.
Which harness uses fewer tokens, DeepSeek Harness or OpenCode?
No public head to head benchmark answers that yet. The Composio benchmark measured OpenCode at 692,000 average tokens per task, but it ran before DeepSeek Harness shipped. Run the Step 2 to Step 4 test on your own repo because token usage depends on codebase size, tool setup and task shape.
Can I run DeepSeek Harness and OpenCode against the same API key?
Yes, for a casual test. For a clean measurement, use two separate keys, one per harness. The provider dashboard then attributes every token to the correct run.
What is the difference between an agent and a harness?
DeepSeek describes an agent as Model plus Harness. The model reasons. The harness connects the model to files, shell commands, tools, sessions, approvals and the loop that decides the next action. Change the harness and the same model can spend a different number of tokens on the same task.





